There are a number of wallets out there which you can use for Ethereum or ERC 20 tokens – that is to say tokens that run on the Ethereum network. One of the simplest ones to use and familiarize yourself with is Metamask. In addition to supporting Ethereum transactions Metamask now has functions that can support other blockchain main-nets including Factom, Binance SmartChain and Polygon. If you want to explore the world of Cryptocurrency outside of Bitcoin, Metamask is a good way in which to interact with other blockchains, buy NFTs or become involved in decentralized finance and DAO’s – Decentralized Autonomous Organizations. In this short post, we will show you how to install and how to use Metamask Wallet.
Metamask Wallet – The Friendly Fox

How to Install Metamask
TO DOWNLOAD A METAMASK WALLET, FOLLOW THE INSTRUCTIONS

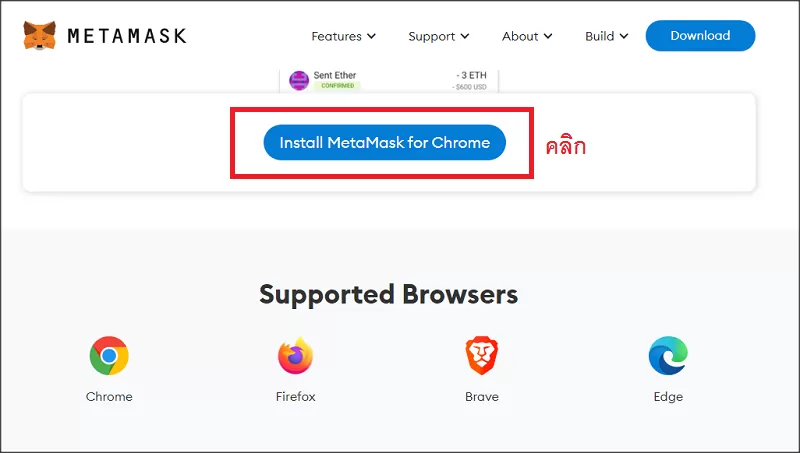
- go to: METAMASK and then press Download
- You will see a screen and be invited to: Install Metamask for Chrome – or Iphone or Android.
- Next you will be invited to: Add to Chrome – or Iphone or Android
- Once you have accepted this you will see a screen which says: Get Started.
- Press this and you will be taken to a screen which offers the option of putting in a recovery phrase or starting a new wallet. If you are just starting to use Metamask you will need to set up the new wallet.
- Press the ‘Create a Wallet’ button.
- Next agree to the conditions and create a password.
- After this, you will be invited to watch a video. I suggest you do. It is a useful introduction.
- Once the gravity of the Secret Recovery phrase has sunk in, click next, reveal your phrase and write it down in a safe place.
- Subsequent to this you will be invited to put the words from your secret phrase in a box in the order they were given.
- Once you have done this you are ready to start using your Metamask Wallet.
To put some Ethereum ($ETH) into your wallet simply copy the address shown at the top of the page and then send the Ether from your custodial wallet or from wherever you have some Ether stored. It will soon become apparent that the ethereum network can be expensive and this is where you might want to consider opening up another main-net on your metamask. For example, Binance Smart Chain.
Go to the drop down menu where it says Ethereum mainet, select add network.
You will see a number of fields have to be filled in. To get the information for these fields go directly to the chain or use this website:
DETAILS FOR ADDING CHAINS TO METAMASK
HOW TO ADD NETWORKS TO METAMASK
Let us try for the Binance Chain.
Copy and paste the information into the appropriate boxes and then press Save.
After completing it you should end up with something like this:
Now, you should end up with the Binance Smart Chain on your choice of networks. Look in the drop down menu on the top right hand. I now have three networks on my Metamask. Two of which I imported – Fantom and Binance – the other – Ethereum is given as standard.
Enjoy exploring Metamask and engaging with the fast moving world of Defi and DAOs
You can also watch this video about getting started with Metamask:

